
How to Document Wound Healing with Photos (And What to Look for in a Wound Photo App)

Introduction
You peel back the dressing on a diabetic foot ulcer you have been managing for six weeks. The patient asks whether it is smaller. You open last month's photo — taken at a steeper angle, under different light, with no ruler in frame — and realise you cannot answer honestly from the image alone. The wound may be healing. Your documentation cannot prove it.
That is the everyday failure mode in wound photo documentation. It is rarely a bad camera. It is uncontrolled variables: distance, angle, lighting, missing scale, and photos stranded in a personal gallery where the next nurse on the rota cannot find them.
What is wound photo documentation? It is the repeatable capture of clinical wound images — diabetic foot ulcers, pressure injuries, venous leg ulcers, surgical wounds — with consistent framing, a measurement reference when size matters, peri-wound context, and a patient-level timeline so healing trajectory is visible across visits. Done well, it supports treatment decisions, team handoffs, and audits. Done poorly, it produces pretty pictures that cannot be compared.
This guide is for wound care nurses, tissue viability specialists, podiatrists, home-health clinicians, and clinic leads who already photograph wounds on phones and want a protocol that holds up week to week — plus clear criteria for choosing a wound photo app. It is educational, not clinical or legal advice. Follow your organisation's imaging and consent policy.
Why Wound Photos Fail in Practice
Most services already take photos. The problem is serial comparison.
Four failure modes show up constantly:
- Distance and angle drift — a close-up this week and a wider shot next week makes contraction look like enlargement (or the reverse).
- No scale reference — without a sterile ruler or validated scale in plane with the wound bed, "smaller" stays a guess.
- Peri-wound cropped out — erythema, maceration, and callus at the margin drive decisions; a tight crop on the bed alone hides them.
- Storage that is not a clinical workflow — camera rolls, WhatsApp threads, and shared Drive folders break continuity when the multidisciplinary team needs the same record. For the compliance angles on those storage habits, see personal phone patient photos and Google Drive under GDPR rather than repeating that ground here.
The Institute of Medical Illustrators (IMI) guidance on photography for wound management emphasises standardisation and secure clinical photography applications when smartphones are used — the same principle NHS wound photography procedures reinforce: approved device or app, consent, and images into the clinical record promptly. Your protocol should make the safe, comparable capture the default, not the exception.
For the general clinical photography foundations (lighting, distance, positioning), pair this post with medical photography best practices. Everything below is wound-specific.
A Practical Wound Photography Protocol
You do not need a studio. You need controlled variables you can repeat at every dressing change.
Lighting
Use the same light source pattern every time. Overhead fluorescents plus a window produce different colour and shadow at 09:00 and 16:00. Prefer a consistent room light or a small portable LED held at a fixed angle. Turn off competing lights when you can. The goal is reproducibility, not perfect studio colour.
Avoid on-camera flash pointed straight down the wound — it flattens topography and blows highlights on moist tissue. If flash is unavoidable, bounce or diffuse and keep the same setting on every visit.
Distance, angle, and framing
Photograph perpendicular to the wound bed whenever anatomy allows. Oblique angles exaggerate or shrink apparent size. Keep the camera at a marked or remembered distance so the wound occupies a similar fraction of the frame each visit.
Include enough peri-wound skin to show the margin clearly. For foot ulcers, include anatomical landmarks (toes, medial/lateral malleolus) so orientation is unambiguous later.
If your app supports a ghost overlay from a prior visit, use it — matching last week's framing is the fastest way to make this week's photo comparable.
Scale reference
Place a sterile, non-bendable paper ruler or wound measurement scale in the same plane as the wound surface, at the margin — not floating above the bed and not bending around a curve. Capture at least one frame with the scale visible whenever size or area will inform the plan.
Record length, width, and depth in the visit notes if your workflow requires numbers. A photo with a scale supports the note; it does not replace charting.
Views worth capturing
At a typical dressing change, capture:
- Overview — wound in anatomical context
- Close-up of the wound bed — tissue type, slough, eschar, granulation, exposed structures
- Peri-wound — if the overview crops margin detail
- Scale view — bed plus ruler in plane
Add medial/lateral or plantar/dorsal views for foot ulcers when shape or location would be ambiguous from one angle alone.
When to re-photograph
Photograph at initial assessment and at each clinically meaningful dressing change or review — not so often that you undress solely for a picture. Local policy (and tissue viability advice) should set the cadence for pressure injuries and chronic ulcers. Re-photograph sooner when you suspect deterioration, infection, or dehiscence.
Label every image set with date, wound site, and stage or description in the patient record so the timeline is usable by someone who was not at the visit.
Wound Types: What Changes in the Frame
Diabetic foot ulcers
Prioritise orientation and offloading context. Include toes or heel landmarks. Keep the foot in a repeatable position (same chair angle, same supported posture). Scale matters because area change informs whether offloading and dressing strategy are working.
Pressure injuries
Staging and re-staging need consistent framing of the deepest visible tissue and the peri-wound. Photograph before redressing when policy allows. The serial set should make stage progression or improvement visually unambiguous for governance review — not just for the nurse who was present.
Surgical wounds and dehiscence watch
Capture the full incision length in the overview, then close-ups of any separation, exudate, or erythema. Early dehiscence is easier to spot when yesterday's photo matches today's angle.
Venous leg ulcers and mixed aetiology wounds
Include enough limb context to show oedema and skin changes around the ulcer. Compression and elevation decisions often lean on peri-wound appearance as much as bed appearance.
What to Look for in a Wound Photo App
A dedicated wound photo documentation app should make the protocol above easy to keep — not add another folder to manage.
Use this checklist when you evaluate tools:
- Capture outside the personal camera roll — clinical images should not land next to family photos or personal cloud backups.
- Patient- and visit-level organisation — every photo anchored to the right patient and timestamped session.
- Comparison across visits — progress slider or side-by-side so healing trajectory is obvious in the room.
- Team access with control — podiatry, vascular, primary care, and home health need shared access without WhatsApp handoffs; audit who viewed what.
- Annotations and notes — arrows, labels, and visit context beside the images.
- Exportable progress summaries — when referrers or auditors need a curated visual story, not a zip of unsorted files (see patient progress reports).
- Security you can describe — encryption in transit and at rest, access controls, EU-hosted storage if you operate under GDPR, and a Data Processing Agreement when you are the controller using a processor.
EMR photo modules can store images in the chart and still fail the live comparison job — clunky mobile capture, weak side-by-side review, and slow retrieval during a dressing change. A focused clinical photo app earns its place when the daily job is visual progress, not charting alone.
How PixioDoc Fits Wound Care Workflows
PixioDoc is built for clinicians who document healing on a phone without mixing patient media into a personal gallery. Capture goes into a patient timeline with timestamped sessions. On Free, the progress slider helps you compare visits during the consult; Pro and Teams add side-by-side and multi-image layouts, PDF progress reports from selected sessions, and role-based case sharing for multidisciplinary review.
Ghost overlay helps you match framing to a prior visit. Annotations support labels and arrows on the image. Storage is encrypted and EU-hosted, with audit-logged access.
PixioDoc does not provide an in-app wound ruler or automated area measurement. Keep using a physical scale in frame and record dimensions in session notes — the same honest limitation you should expect any vendor to state clearly.
If you want the specialty walkthrough — diabetic foot ulcers, pressure injuries, surgical wounds, and team sharing — start on the wound care photo documentation page.
Frequently Asked Questions
How often should wound photos be taken?
Capture at initial assessment and at each clinically meaningful dressing change or review. Avoid undressing solely for photography. Follow local tissue viability or organisational policy for pressure injuries and chronic ulcers, and re-photograph sooner if you suspect deterioration.
Do I need a ruler in every wound photo?
Include a sterile scale in plane with the wound whenever size or area will influence treatment, audit, or reimbursement documentation. Overview shots without a ruler can still help for orientation, but serial size judgements need a reference.
Can smartphone photos be used for wound care documentation?
Yes — when capture is standardised and images are stored in an approved clinical workflow rather than a personal gallery. Many NHS procedures allow smartphone or digital-device photography on approved setups with consent and prompt transfer into the record. A dedicated clinical app reduces the risk of personal-roll storage.
What is the difference between a wound photo app and storing images in the EMR?
EMR modules prioritise chart attachment and compliance filing. A wound photo app prioritises fast mobile capture, patient timelines, and live comparison during care. Many clinics use both: visual workflow day to day, with selected images or reports filed to the record as policy requires.
How should multidisciplinary teams share wound photos securely?
Use role-based access inside a clinical platform with an audit trail — not consumer messaging. Share the minimum necessary images, revoke access when the episode ends, and keep discussion tied to the patient record rather than personal chat history.
Does PixioDoc measure wound size in-app?
No. Place a physical measurement scale in the photo and record dimensions in notes. PixioDoc focuses on secure capture, timelines, comparison, reports, and team sharing — not automated wound measurement.
Keep patient photos out of your camera roll
PixioDoc gives you a dedicated workspace to capture, compare, and share patient photos — organized by patient timeline, never mixed with your personal gallery.
EU-hostedEncrypted in transit & at rest
Keep reading
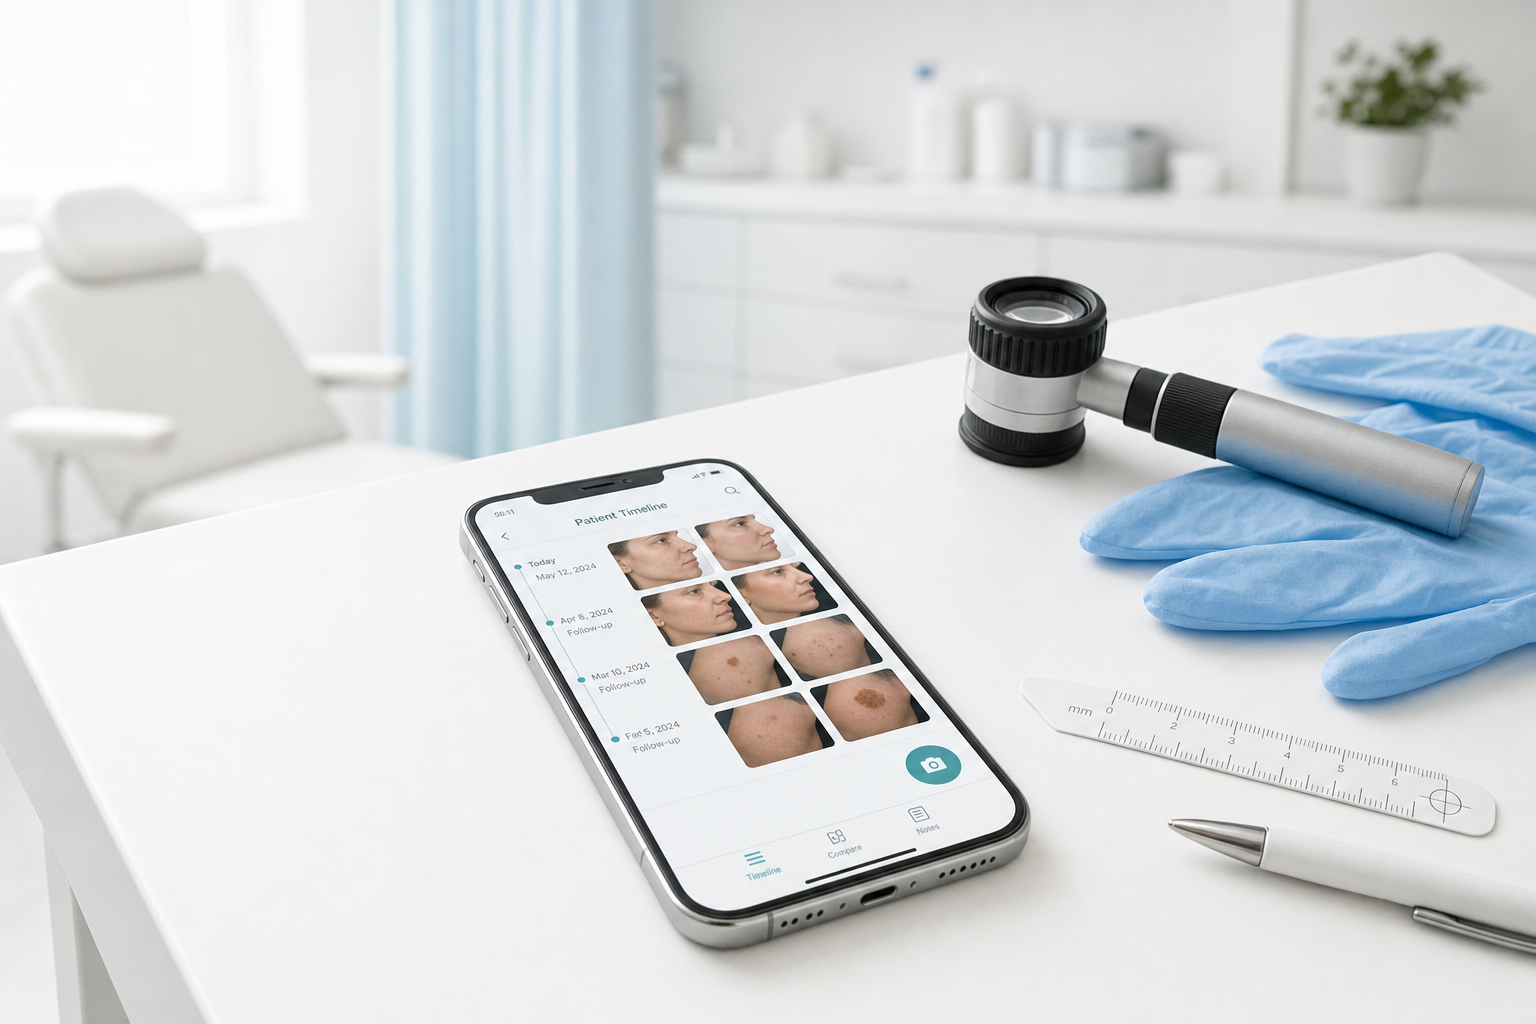
Best Medical Photo Apps for Dermatologists (2026 Buyer's Guide)
Compare the best medical photo apps for dermatologists — standalone mobile tools vs PM platforms vs EMR modules. Pricing, free tiers, comparison features, and who each fits.
Read article
How to Take Professional Before-and-After Photos in Your Clinic
A camera-agnostic playbook for clinicians and medspas: lighting, framing, distance, and a smartphone workflow for before-and-after photos that look professional.
Read article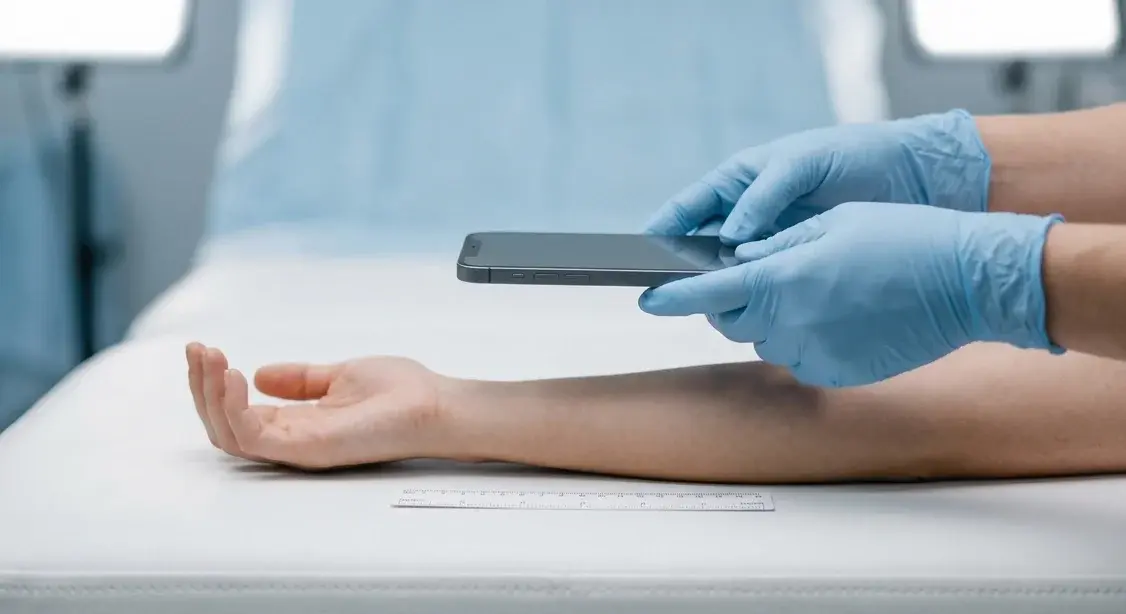
Medical Photography Best Practices: Consistent Positioning for Accurate Progress Tracking
Learn the clinical photography standards used by dermatologists, plastic surgeons, aesthetic practitioners, and wound care specialists to capture consistent, comparable before-and-after images that improve patient outcomes and protect your practice.
Read article